
Play
dough number 1:
Recipe: Emily's Fantastic No Cook Playdough Recipe

2 cups of plain/all-purpose flour
1 cup salt
1 cup cold water
1 tbspn oil (vegetable oil is fine - baby oil smells lovely).
1 cup salt
1 cup cold water
1 tbspn oil (vegetable oil is fine - baby oil smells lovely).
Drop the ingredients into a plastic bag and seal. Let the children knead them together inside the bag - then tip it out for modeling fun.
Notes: The fact that this recipe was no-cook and that it
could be mixed in a bag made it very easy to make. Our biggest problem with
mixing in the bag was that we couldn’t get the color to disperse evenly through
the dough, and we used a lot of food coloring trying to get this to happen, so
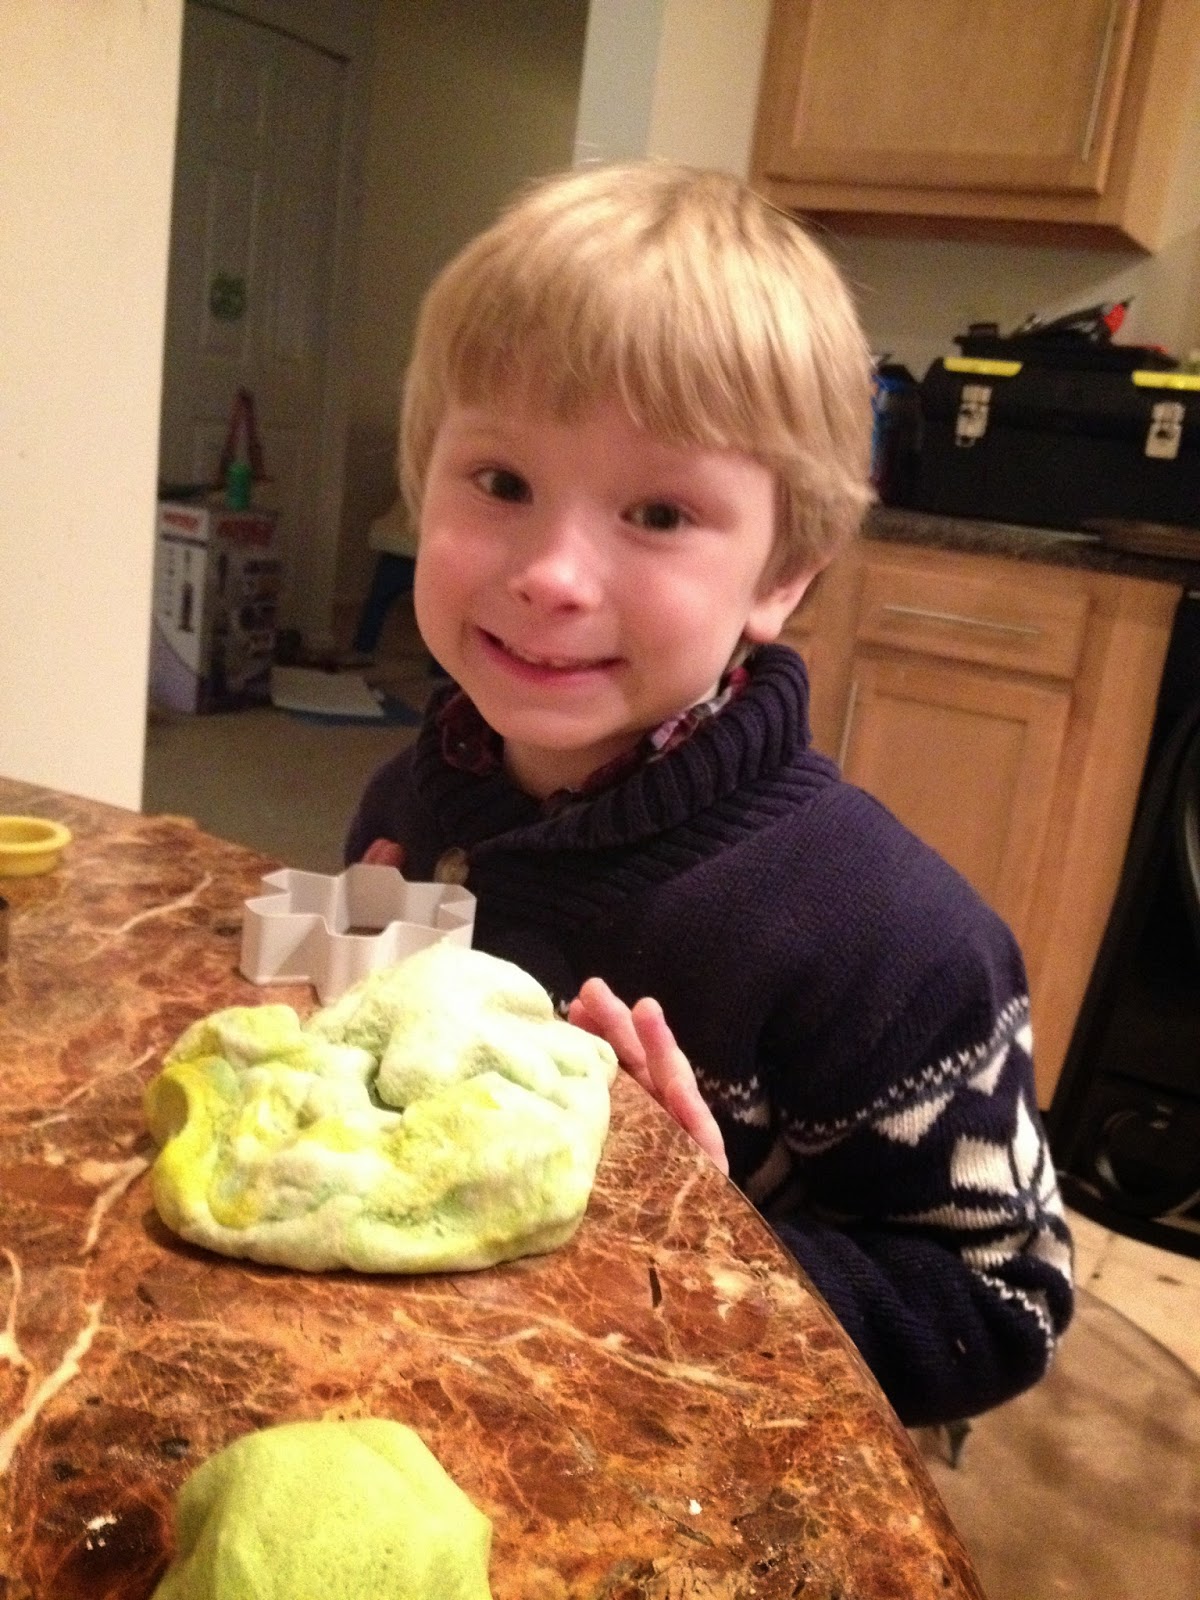
we used green and yellow dye and ended up with a bit of a marbled effect. When
we took the play dough out of the bag, it was mixed very well and had a nice
dough-y consistency, though I could feel the salt grains throughout it. It took
shape well and worked with the cookie cutters and did just about everything
that good play dough is supposed to do, so I gave it a 4.5 out of 5. Alan gave
it a 4.5 as well.

Play
dough number 2:
Recipe: Homemade Modeling Clay Recipe #2
- 1 cup salt
- 1 cup flour
- 1 cup water
- food coloring (optional)
Mix and stir the ingredients
together over low heat. Cook the mixture until it has thickened. Remove the
clay from heat and allow it to cool before using it.


Notes: this recipe is similar to the first one except that
this is a cooked recipe. The ingredients were easy to mix and stir together. We
added yellow coloring to this mixture, and it came out a nice sunny yellow. The
dough took a bit to thicken over low heat on our stove, which isn’t the
greatest stove. When we removed it from the heat and let it cool, it felt about
the same as the first one. I could feel the grains from the salt in it again,
except with this one, it seemed that the more I worked with it, the salt seemed
to mix in more and it became a little less grainy over time. It took shape well
and worked with all the cookie cutters. I gave this one a 4.5 as well, so I
would recommend that if you want an easier, quicker time to make play dough for
kids, go with the first one, because you don’t have to put it on the heat at
all, and the doughs are so similar otherwise. I would say that this one is my favorite.

Play
Dough Number 3:
Recipe:
Colorful Sugar Play Clay
Bag of Powdered/Icing Sugar
Tepid Water
Food Coloring
Tepid Water
Food Coloring
This is a nice simple edible play dough recipe.
Pour some icing sugar into a bowl and slowly add water (1 tablespoon at a time). Stir until you have a soft play dough.
You can make separate colored batches of this clay by adding a drop of food coloring to each bowl before your add water. Or make up one large white batch, then divide and knead in the food coloring. This method gives you a pretty marble color effect.


Notes:
This one was made from powdered sugar, so it was basically a
cheap frosting stiffened into dough. We did not eat it. We added blue food
coloring to this one which turned out to be the prettiest looking one, in my
opinion. It was tough for me to mix this recipe because I like defined units of
measurement, so just adding water a bit at a time was tricky for me to get a
consistency that I liked. Also, I didn’t use a whole bag of sugar, though it
was close to it, because I had 2 open bags that were a little under half empty
each. The dough was moldable, but it was sticky and stayed on our hands a lot.
It wasn’t as easy to use the cookie cutters, but was still fun to work with. I
added a little flour to this recipe to try to make it a little less sticky. I
would recommend this recipe to someone who has very small, young toddlers
because of the edible quality of the dough (although the other two can be eaten
without harming a kid, salt in that high quantity can’t taste all that great).
I give this recipe a 3, and Alan gave it a 4. He said that this one was his
favorite, because of the blue and because it was made out of sugar, his
favorite thing on the planet.

Recipe:
No Cook Lotion Dough
You will need:
- Baby lotion
- Baking soda
- Water
If you are starting from scratch,
fill a small bowl with baking soda and slowly add water to it.
You will want to be sure to add a little water at a time and mix it in
well. If you are using
food coloring to color the dough, add it now and continue mixing. You
are going for a texture that is somewhat moist and can be molded, but can also
be crumbly.
Mix the lotion in with the dough
until something resembling play dough forms.

Notes:
Again, this one was a bit harder for me because of the lack
of measurements. I used a nice smelling lotion that I have and we did just a
bit of red coloring in this one so that the end result was a pinkish hue. This
dough was also a bit sticky, and I ended up adding a bit of flour to it as well
to counteract that a bit. It came out a bit crumbly, so I had to add more water
to it, too. This dough was nice to mold in our hands but didn’t work well with
cookie cutters very much. It was crumbly, and so we ended up giving up on it
pretty quickly. The big selling point for this one was that the lotion made the
dough smell nice, but then because of the lotion, this one is the LEAST edible.
I gave it a 2.5, and Alan agreed, also giving his a 2.5.
